HOW TO ASSEMBLE CO2 REGULATOR POST-BODY KIT #1
-Sunday, November 1, 2015
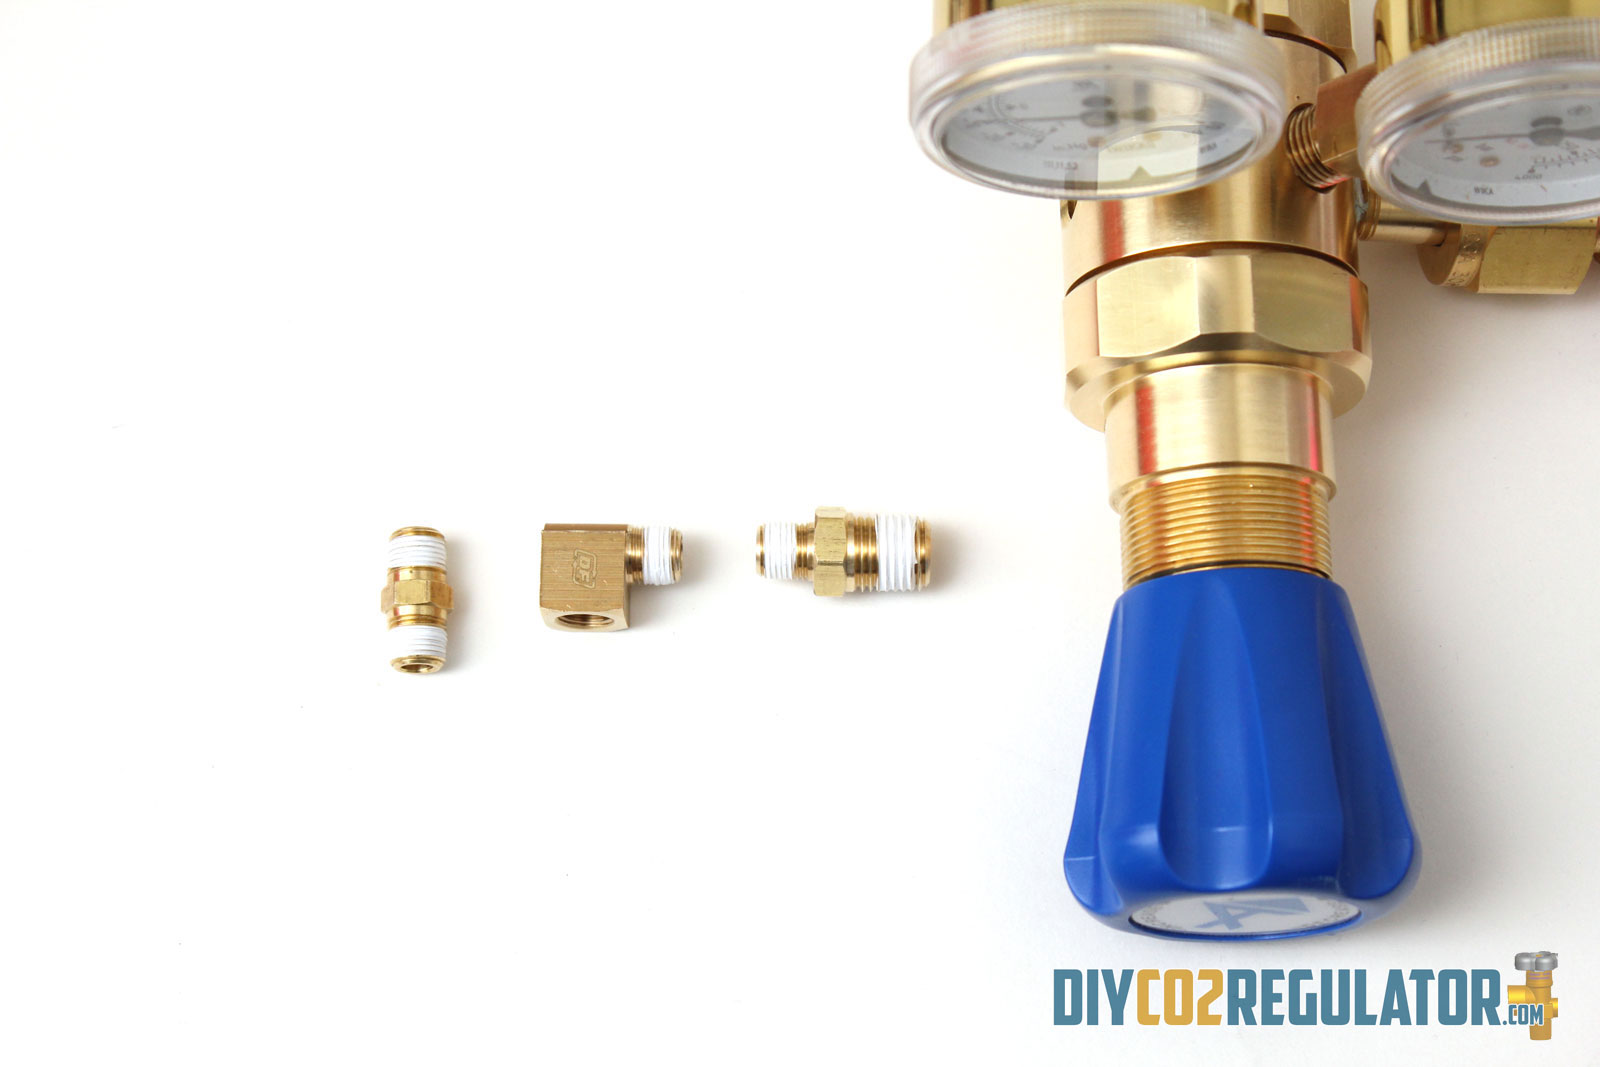
Parts Check List1. 1/4" to 1/8" NPT Adapter 2. Manifold 3. Solenoid 4. Elbow Fitting 5. Hex Nipple Fitting 6. Needle Valve 7. Push Connect Fitting |
 |
| Wrap the fittings with Teflon Tape clockwise 2 to 3 times skipping the first couple of threads. |
 |
| Only these 3 fittings needs teflon tape. Never put teflon on the solenoid threads. |
 |
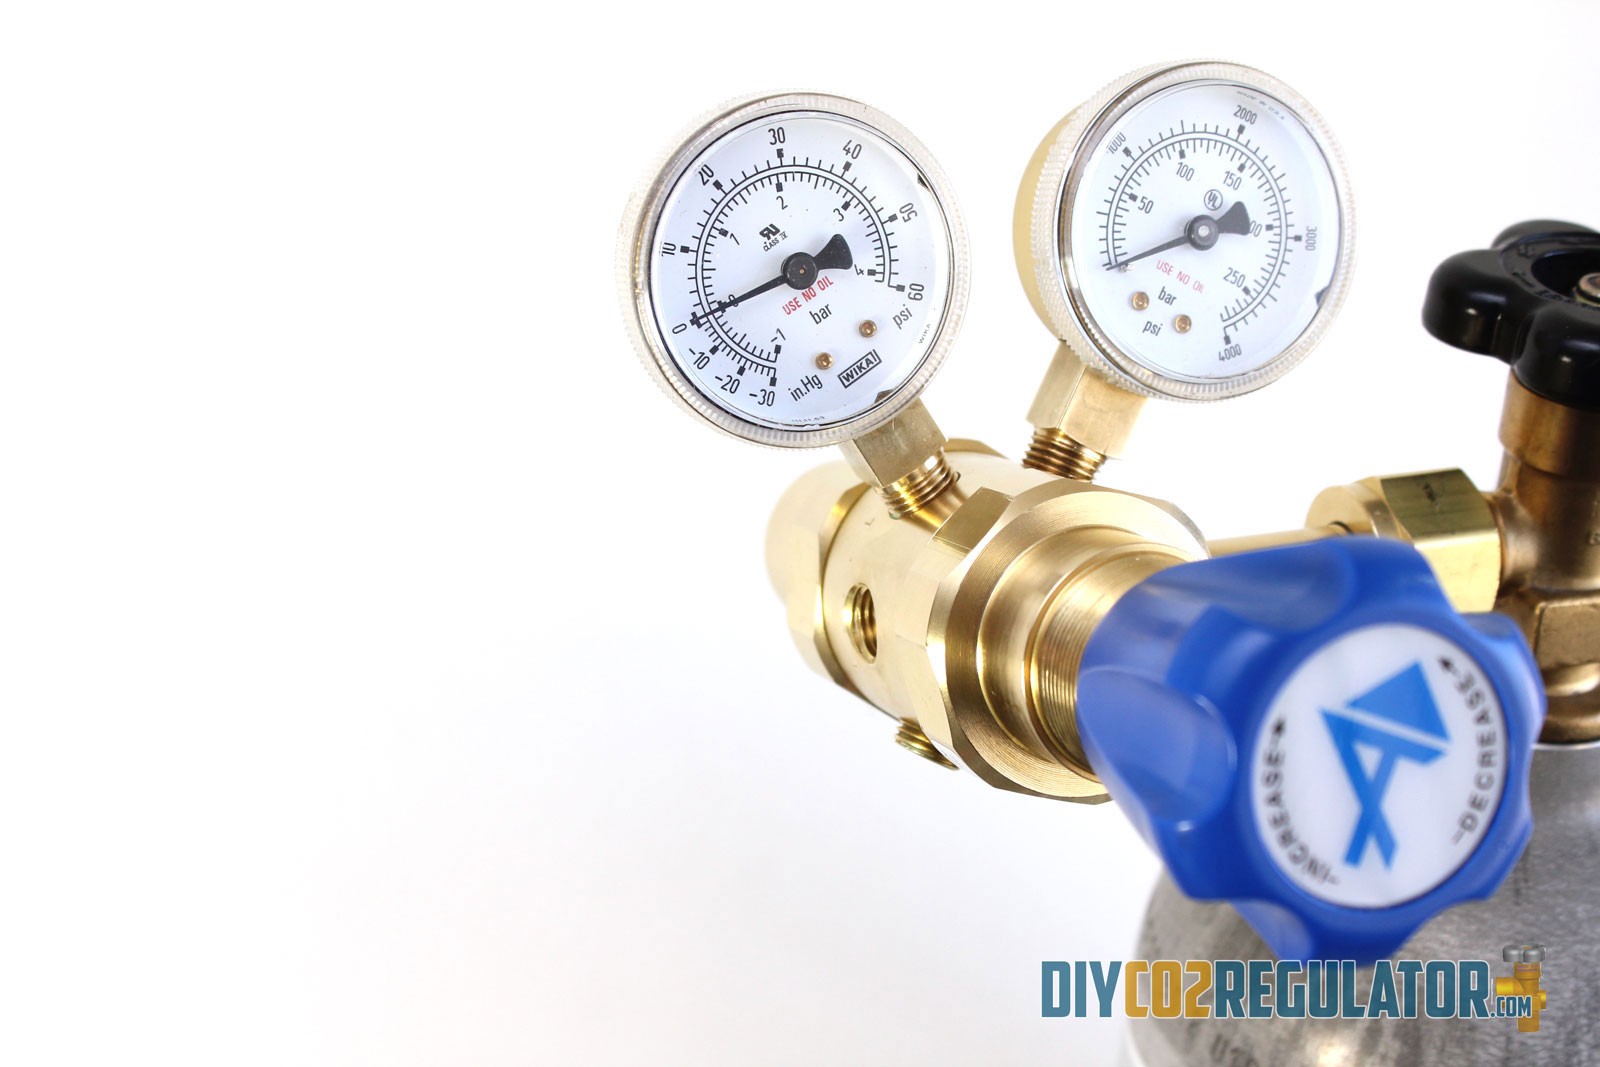
| For conveniece, you can mount the regulator on the CO2 tank. |
 |
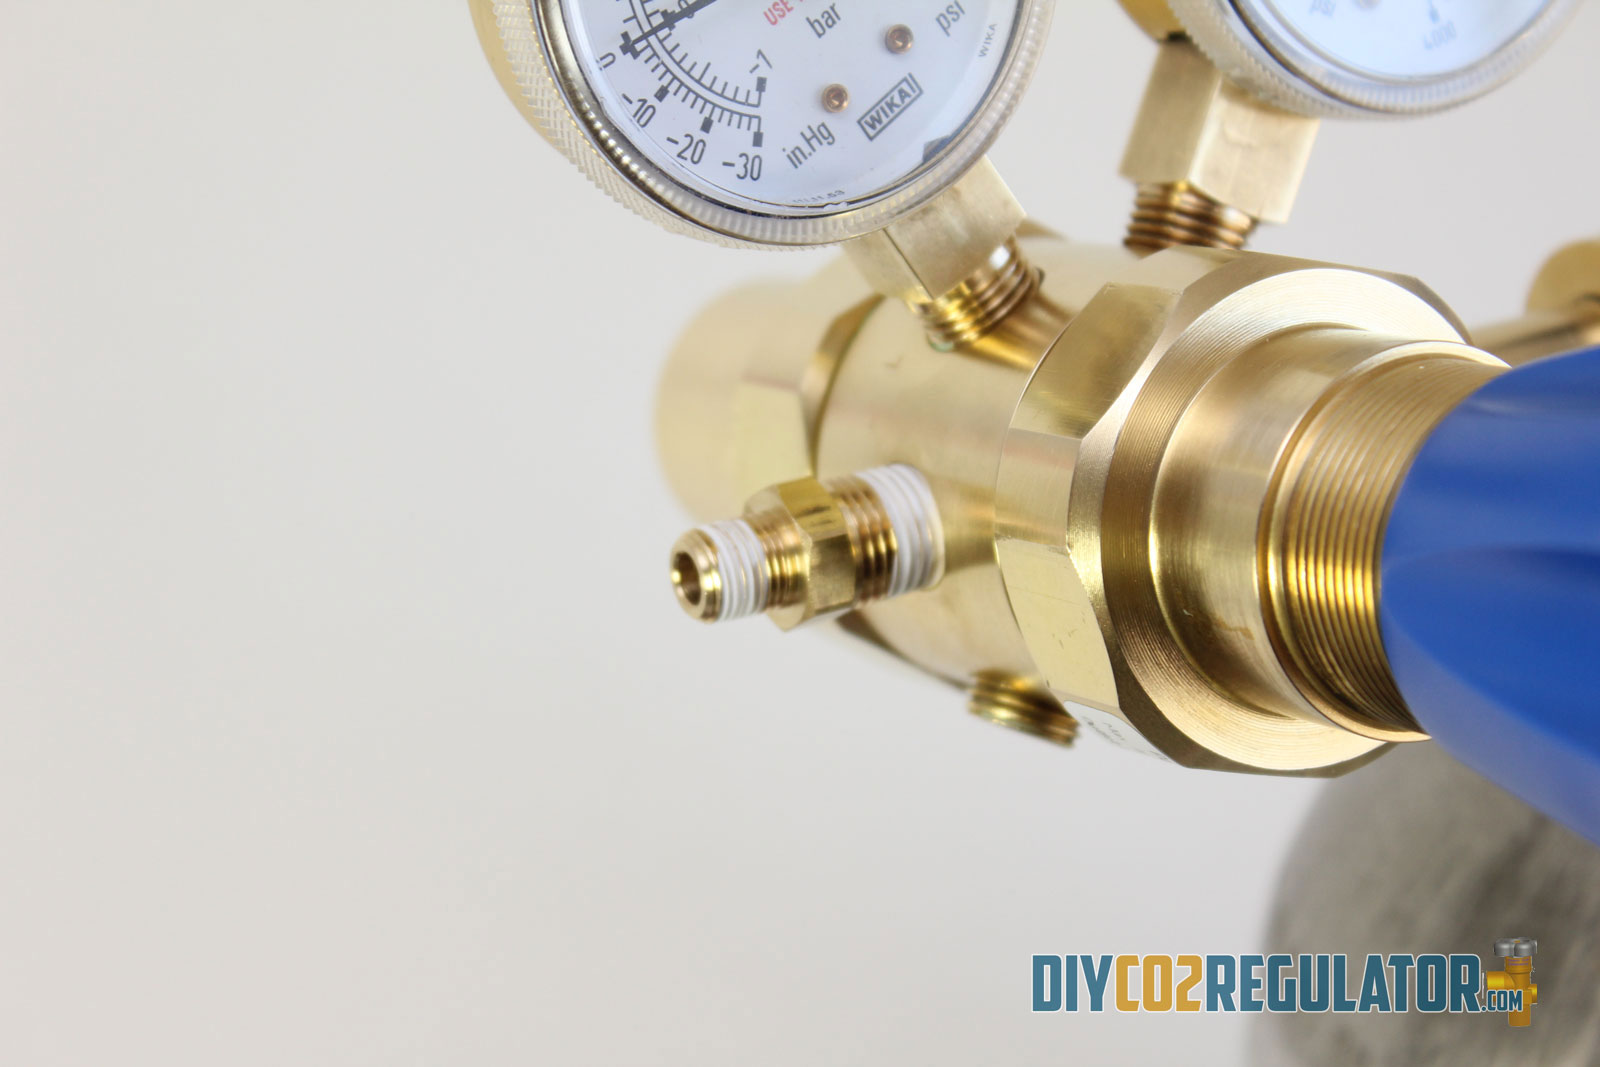
| Screw in the 1/4" to 1/8" NPT Adapter |
 |
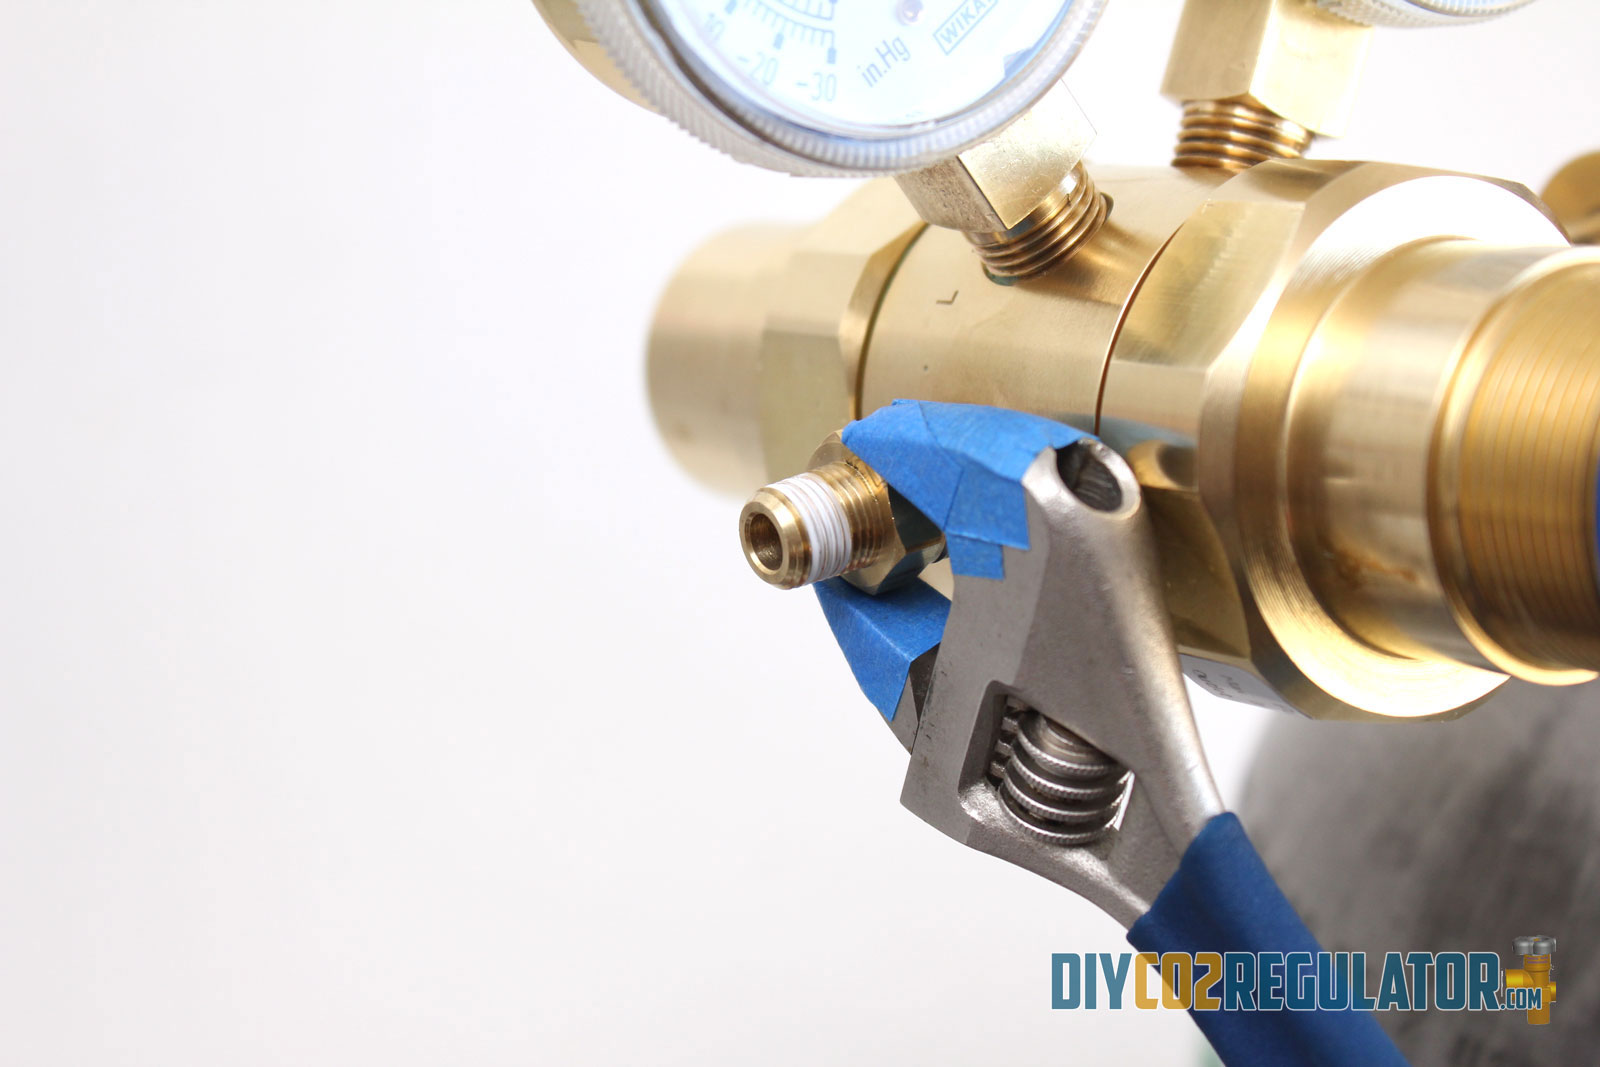
| Tigthen with an open wrench 2 to 3 turns past finger tight. (Tip: You can wrap your wrench with blue painters tape in order not to scratch your brass fittings.) |
 |
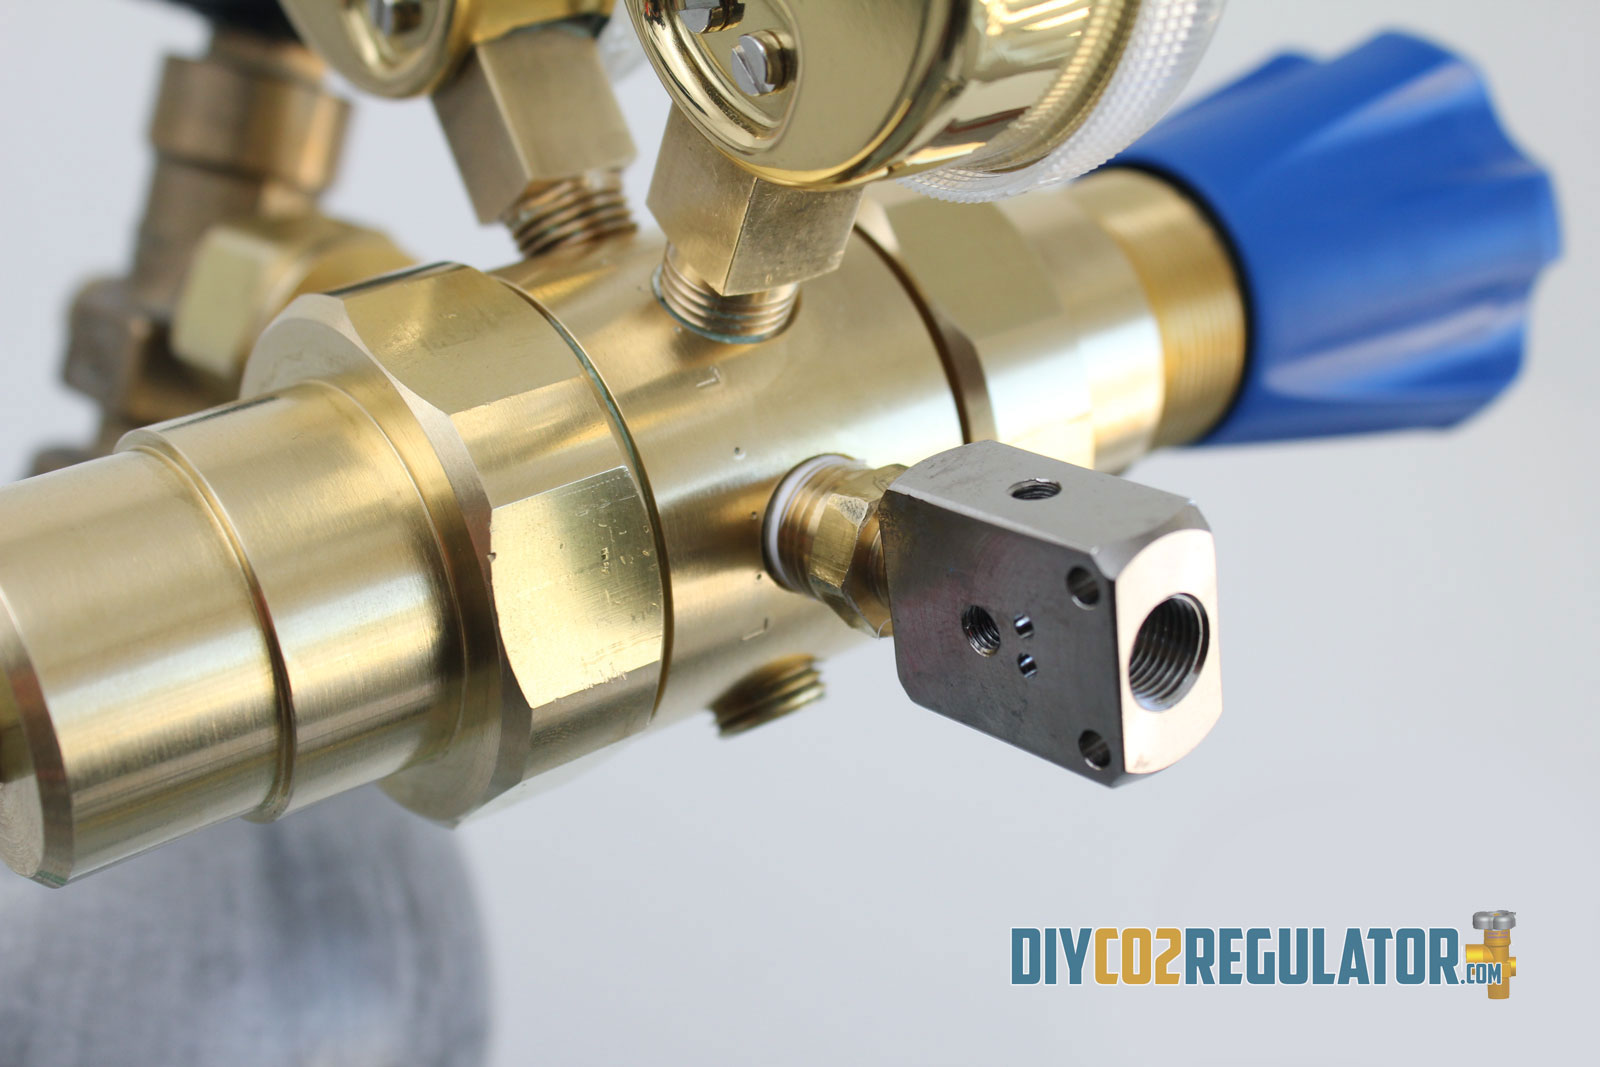
| Screw in the Solenoid Manifold. Take note of the proper orientation. The side with the two mounting holes on the edge is the output side. |
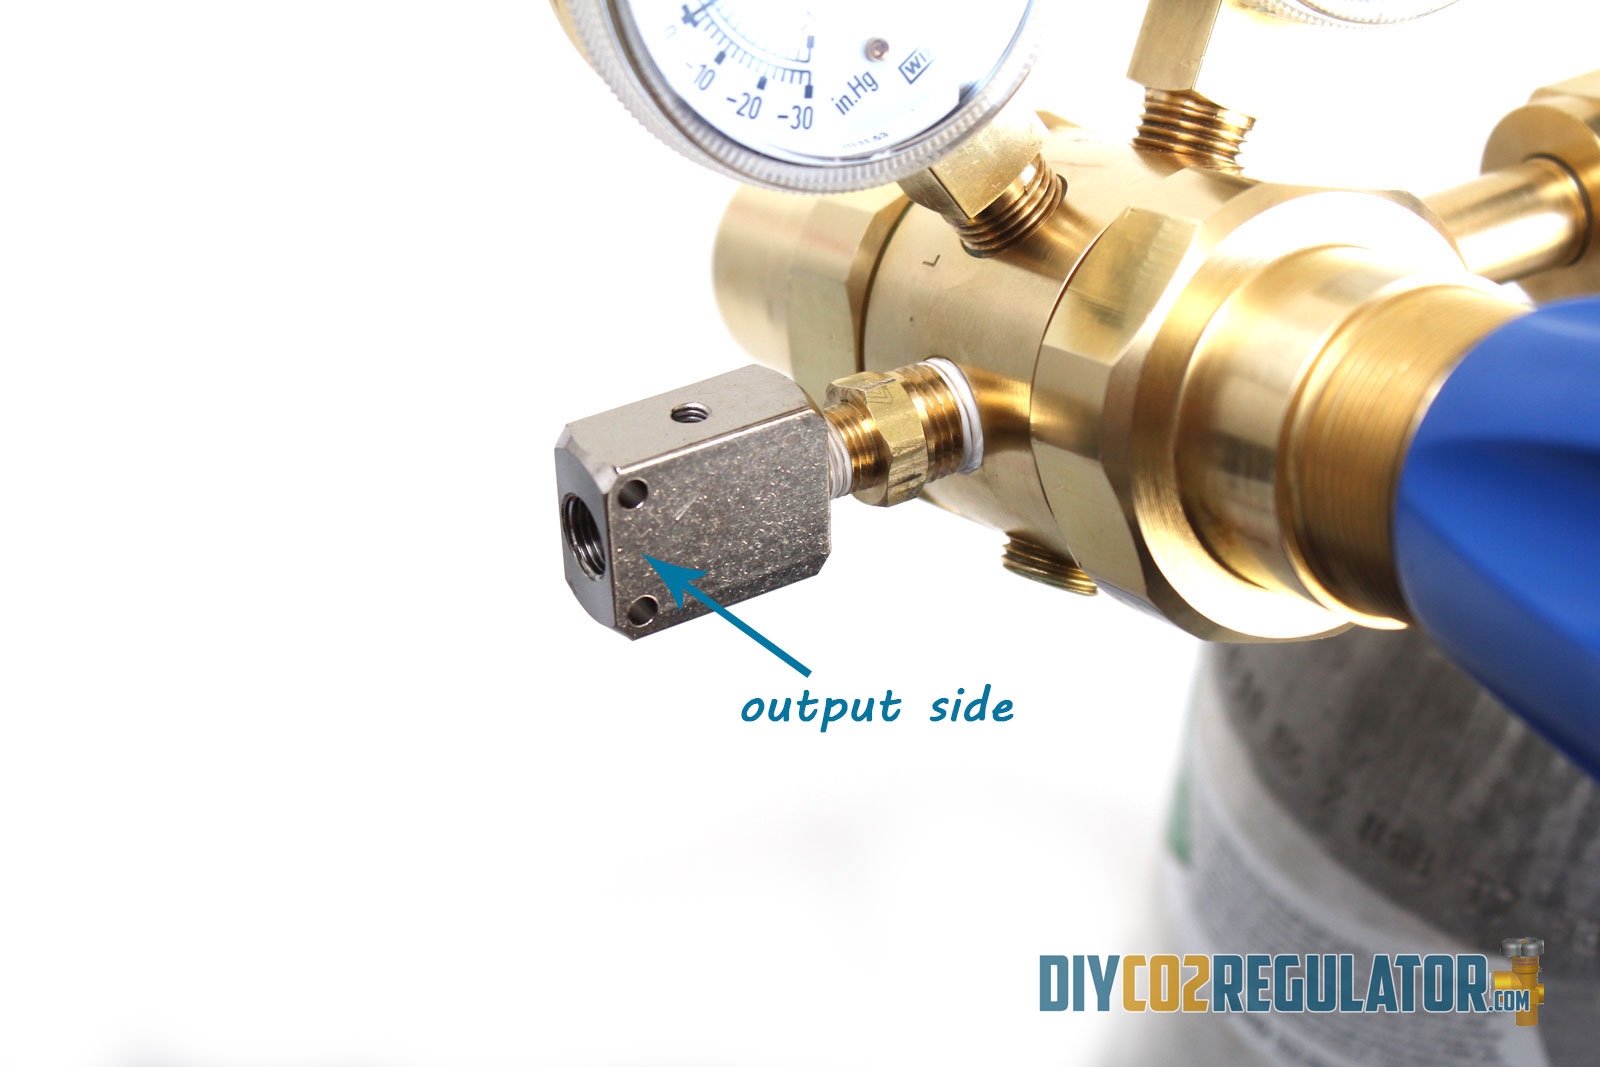 |
| Solenoid Manifold back view. Proper orientation. |
 |
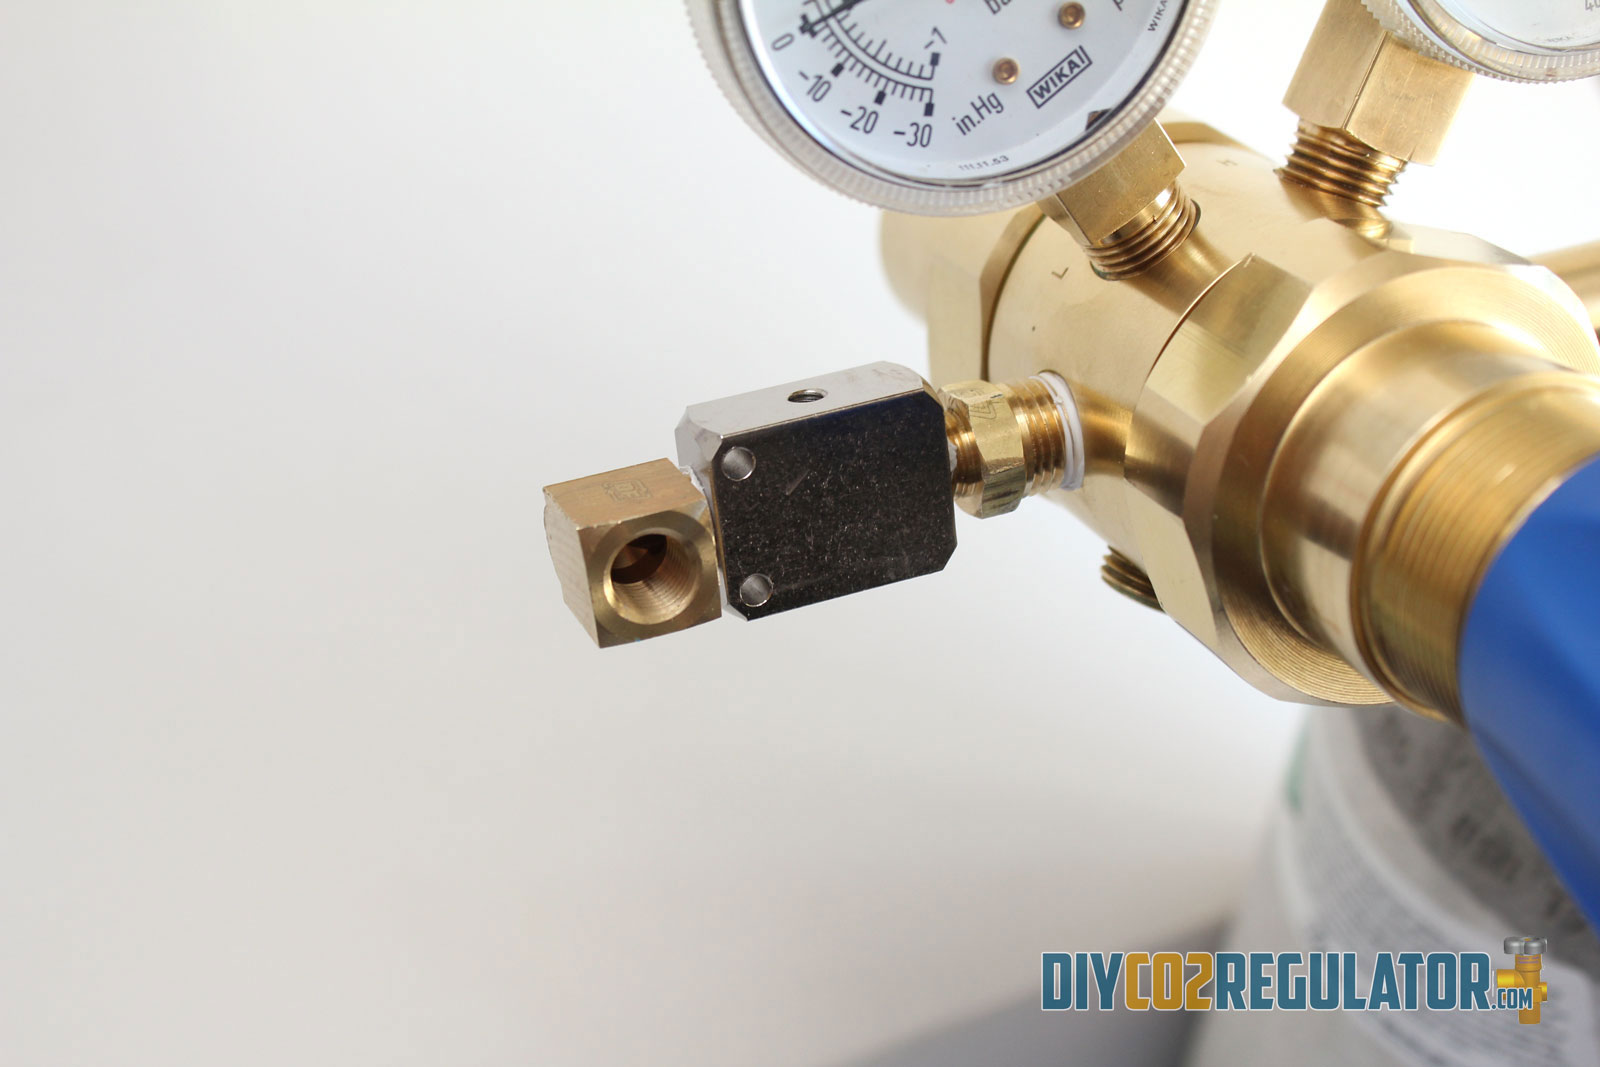
| Screw in the Elbow Fitting |
 |
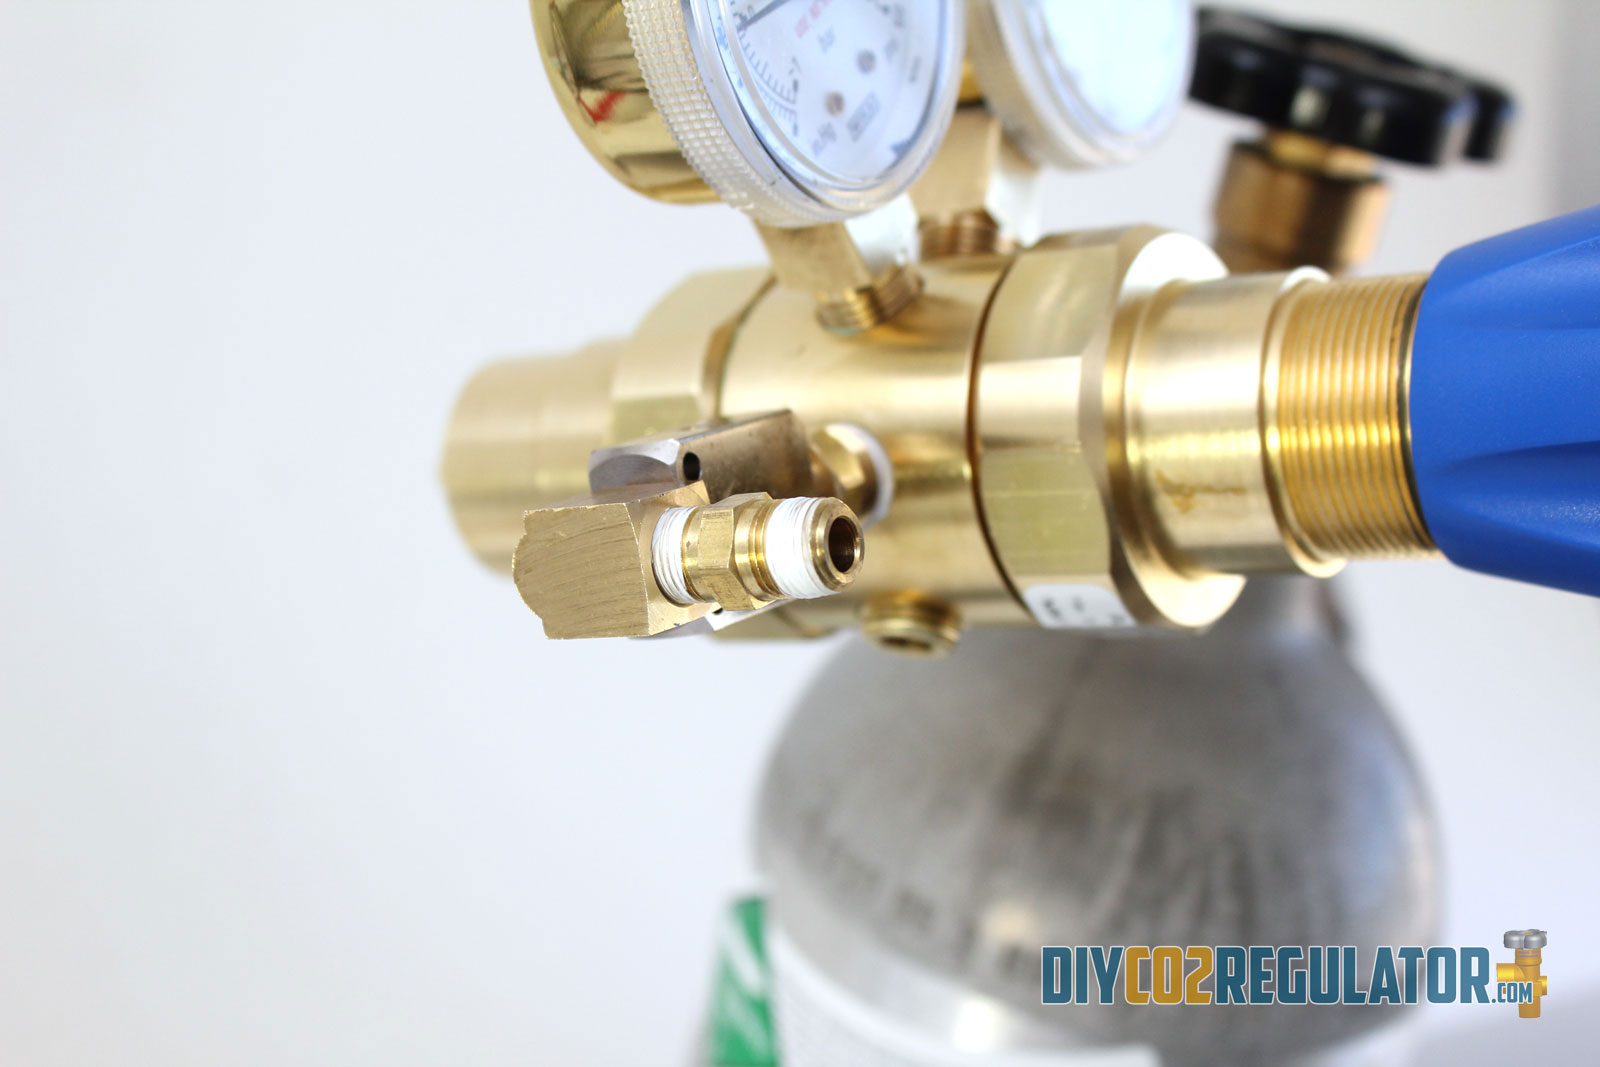
| Screw in the Hex Nipple |
 |
| Screw in the Needle Valve. You would need a bigger wrench for this but be careful not to over torque when using a bigger wrench. |
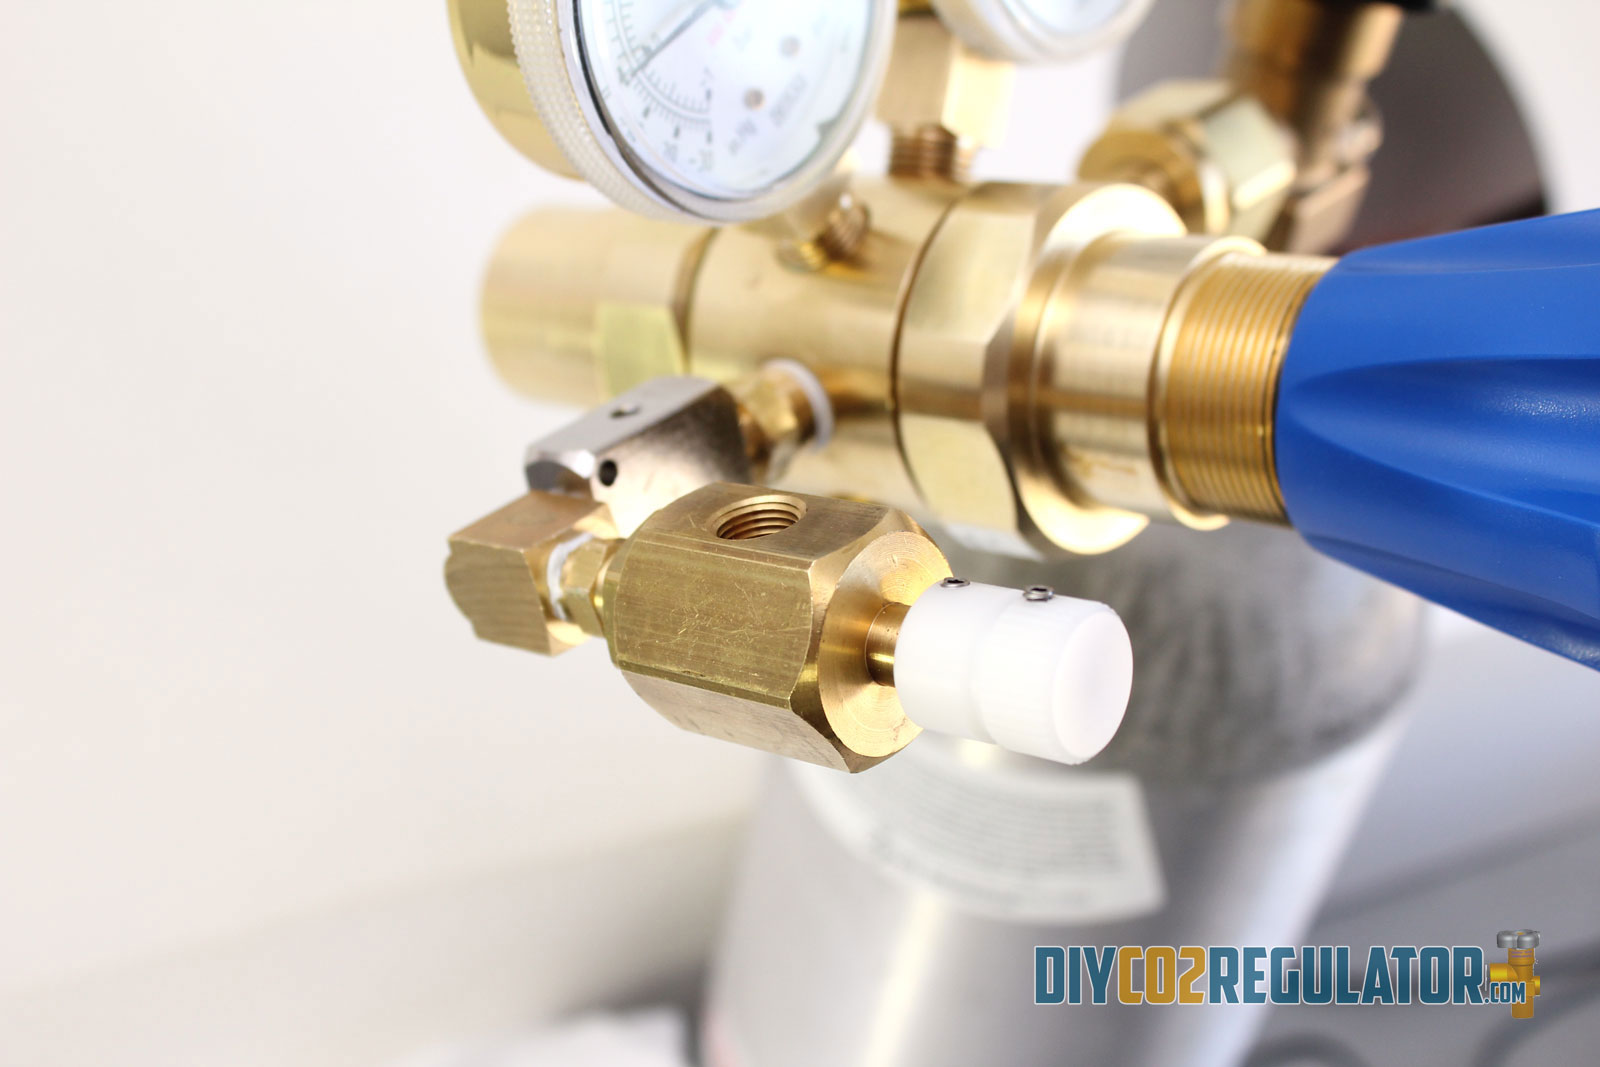 |
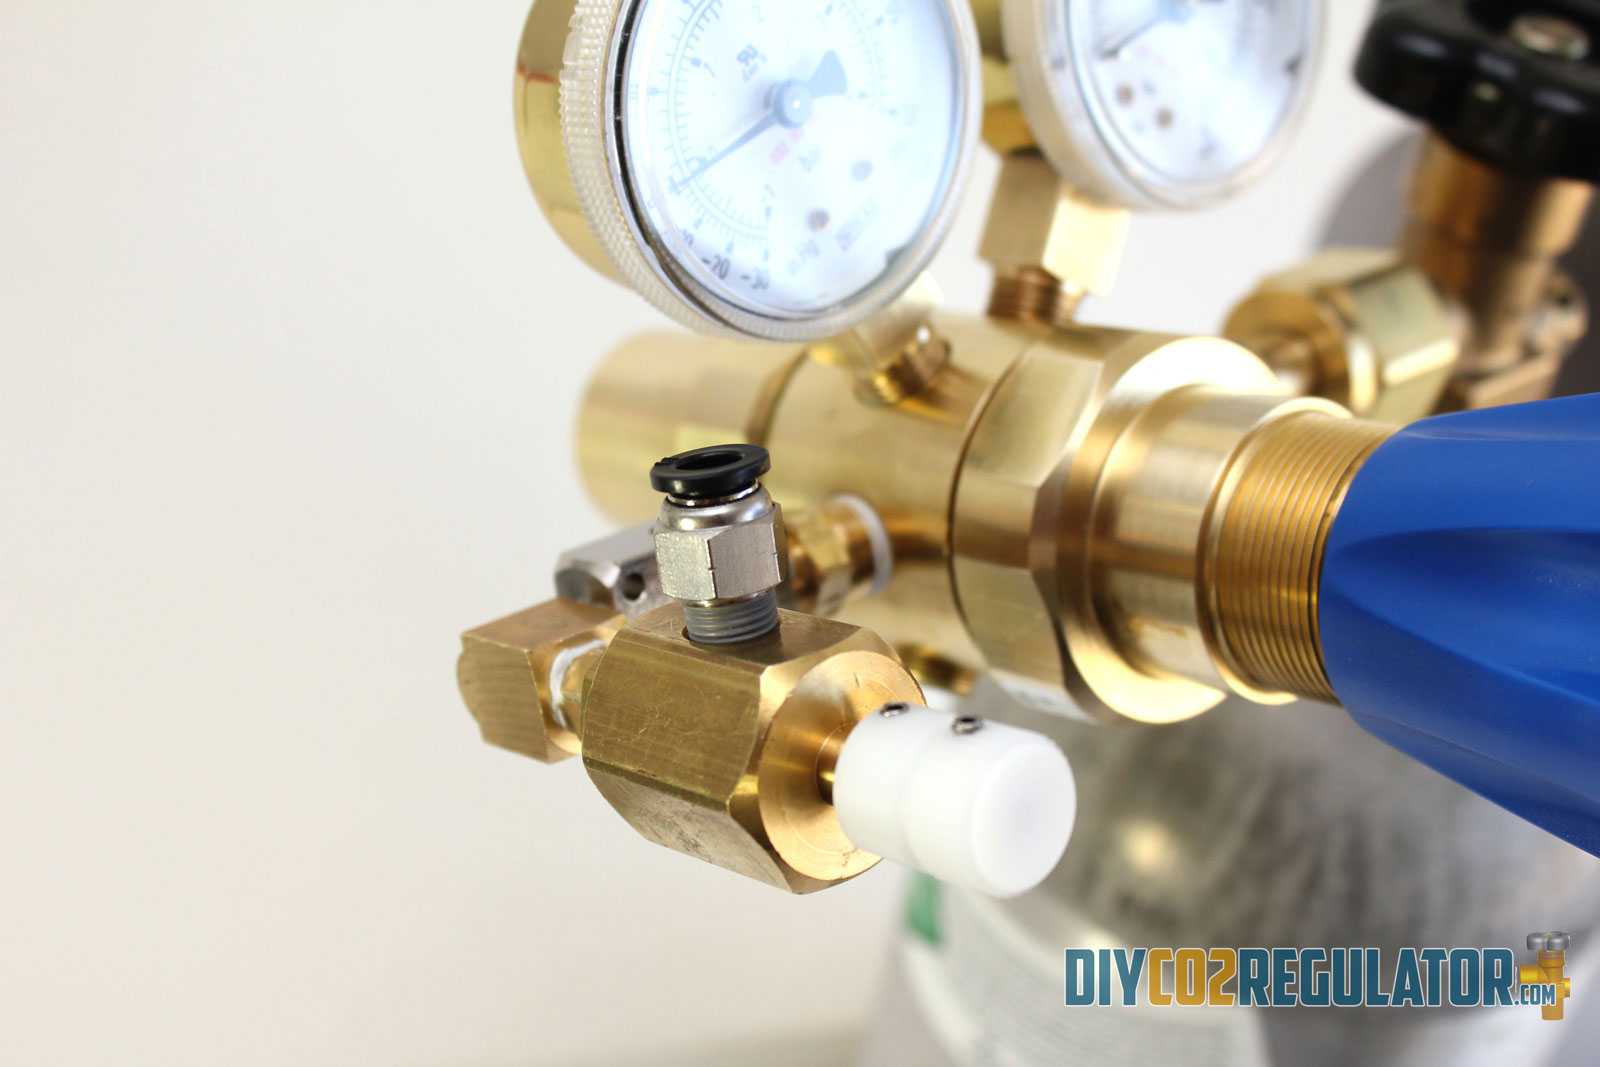
| Screw in the Push Connect Fitting. |
 |
| Screw in the Solenoid. Finger tight only (the rubber o-rings would make the seal). |
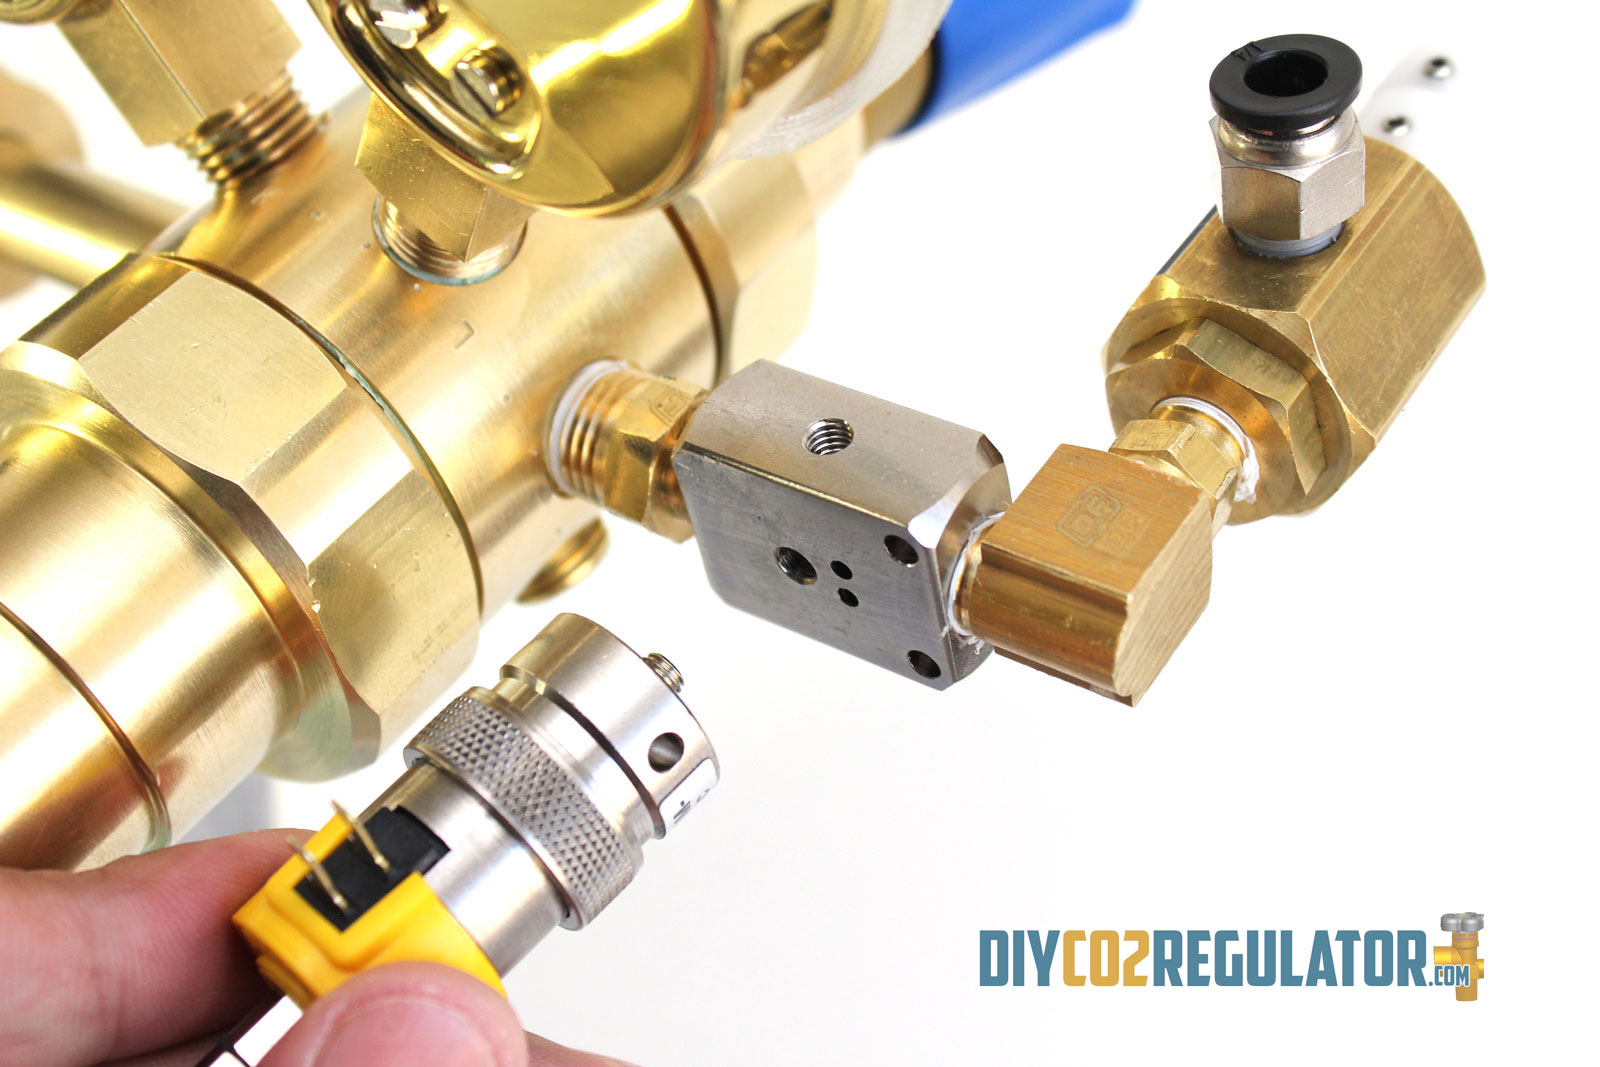 |
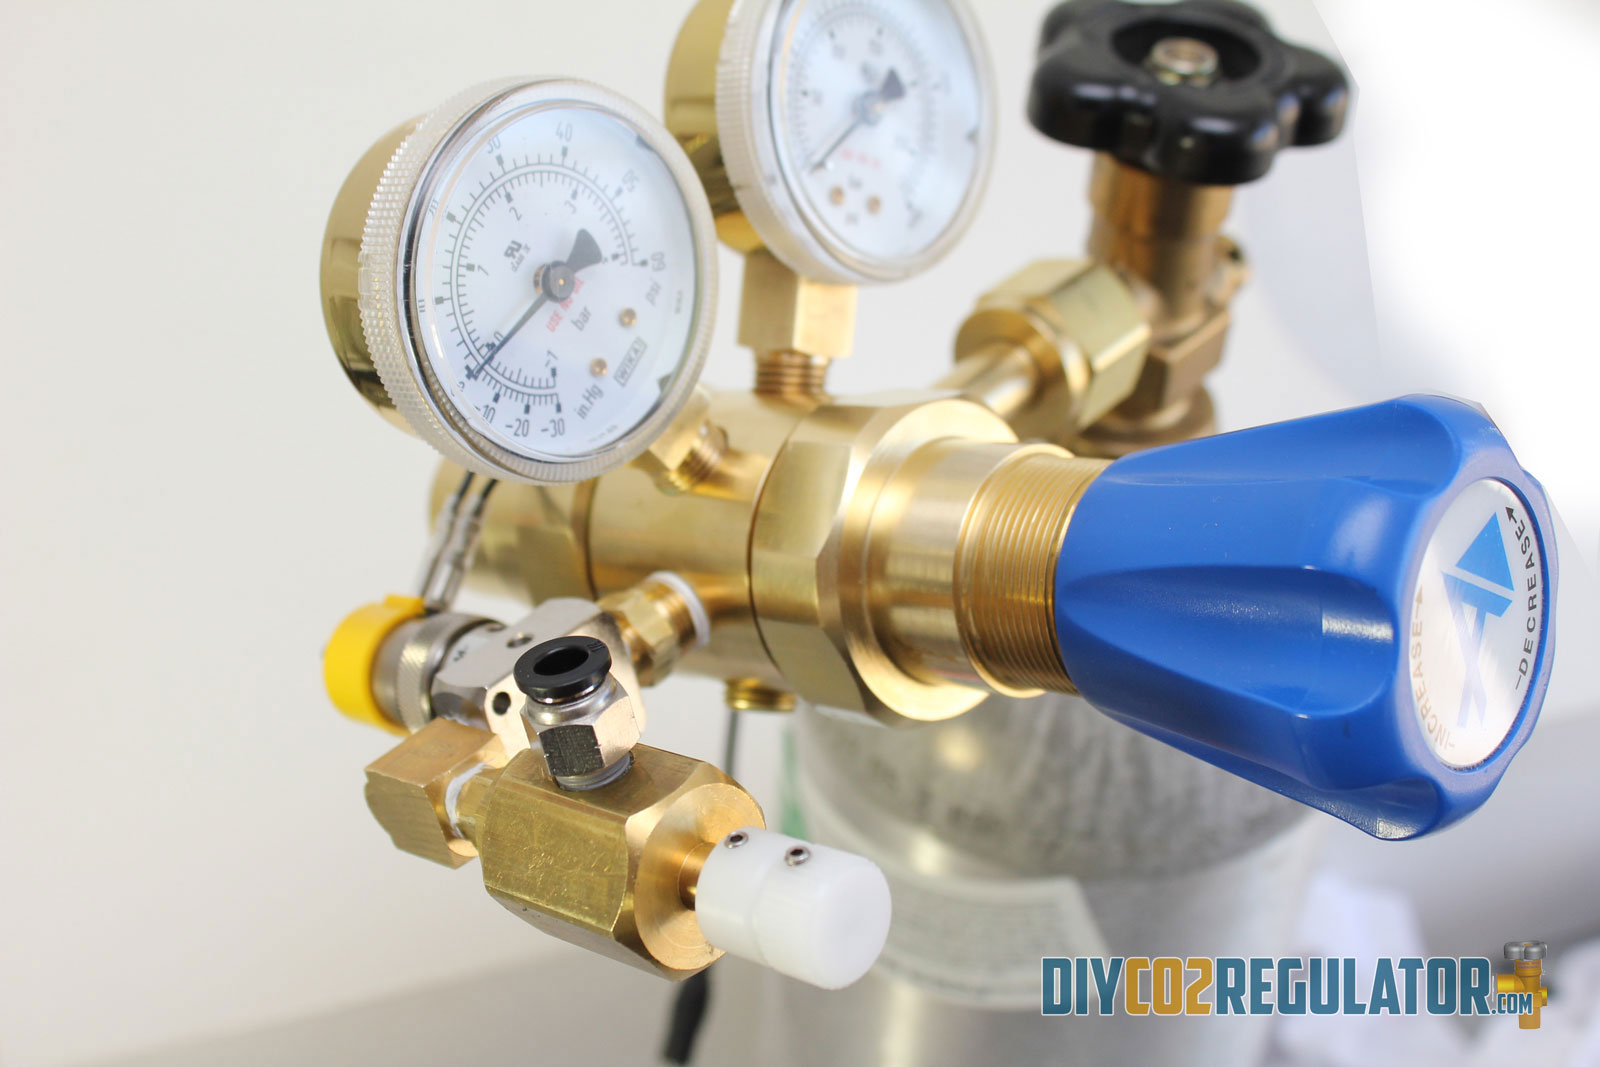
| Attach Pigtail Power Adapter Spade Terminals. (Tip: Solenoid retaining ring can be loosened to properly orient the solenoids spade terminals.) |
 |
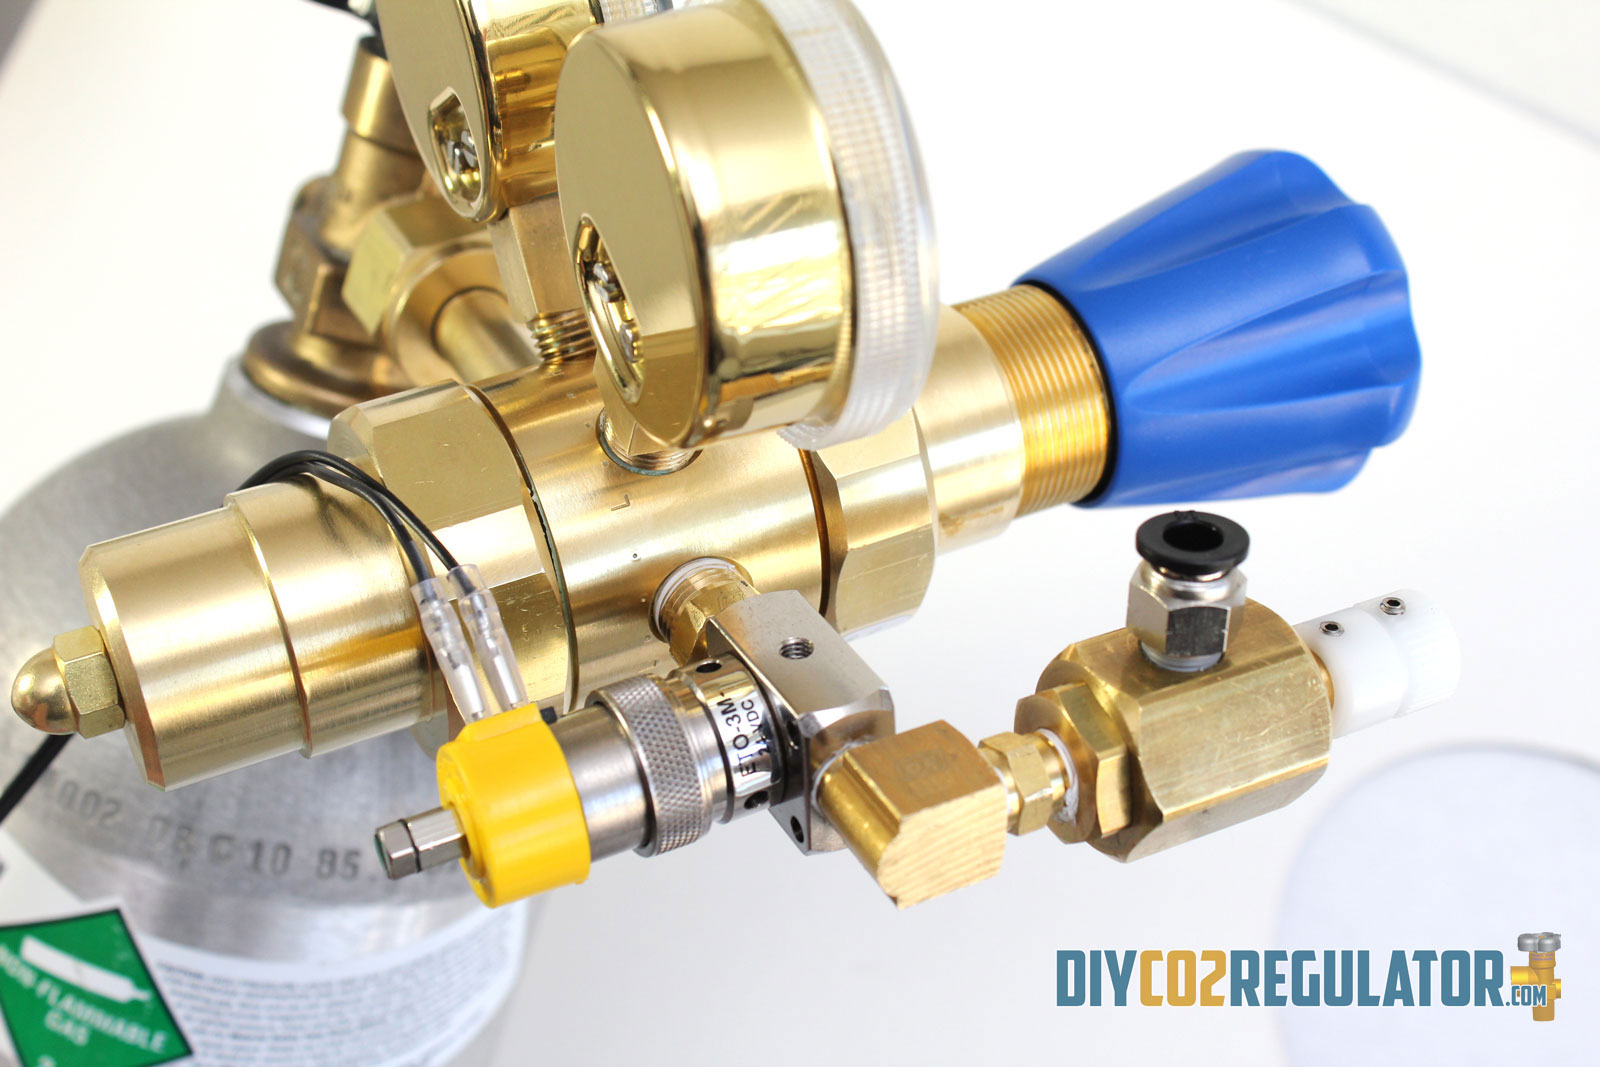
| You are almost ready to inject CO2. But before that..we need to test for leaks (TO BE CONTINUED...) |
 |
 |